1、在FRP开源网址 https://github.com/fatedier/frp/releases/ 选择对应版本下载
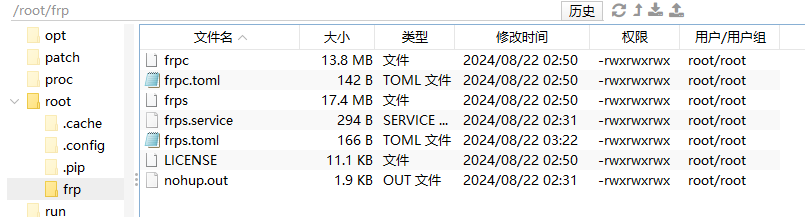
2、上传至服务器目录解压,例如上传到根目录下,命名frp
3、作为服务器端我们只需要修改frps.toml
bindPort = 7000  ##服务端口,在客户端填写的端口也是这个
auth.method = "token"
auth.token = "qwer123"  ##连接密码
webServer.addr = "0.0.0.0"
webServer.port = 7500  ##WEB端口号,ip:7500访问
webServer.user = "admin"  ##WEB界面登录账号
webServer.password = "abc123"  ##WEB界面登录密码
4、启动测试
frps -c /root/frp/frps.toml5、开机自启
nano /etc/systemd/system/frps.service
##输入以下代码
[Unit]
Description=frps
After=network.target
Wants=network.target

[Service]
Restart=on-failure
RestartSec=5
Type=simple
User=nobody
ExecStart=/root/frp/frps -c /root/frp/frps.toml
ExecReload=/root/frp/frps reload -c /root/frp/frps.toml
LimitNOFILE=1048576


[Install]
WantedBy=multi-user.target
systemctl daemon-reload  #重新加载
systemctl enable frps #服务器开机自动启动frps
systemctl start frps       #启动frps
systemctl restart frps     #重启frps
systemctl stop frps        #停止frps
systemctl status frps   # 查看运行日志
6、FRPC配置(群晖套件)
serverAddr = "123.123.123.123"  ##服务器frps ip
serverPort = 7000  ##服务器端设置的端口
auth.method = "token"
auth.token = "qwer123"   ##密码

[[proxies]]
name = "tmp-api"  ##名字
type = "tcp"  ##协议
localIP = "127.0.0.1"
localPort = 3001  ##本地服务需要穿透的端口
remotePort = 3001  ##服务器端访问的端口

[[proxies]]
name = "tmp-web"
type = "tcp"
localIP = "127.0.0.1"
localPort = 3000
remotePort = 3000
Comments NOTHING